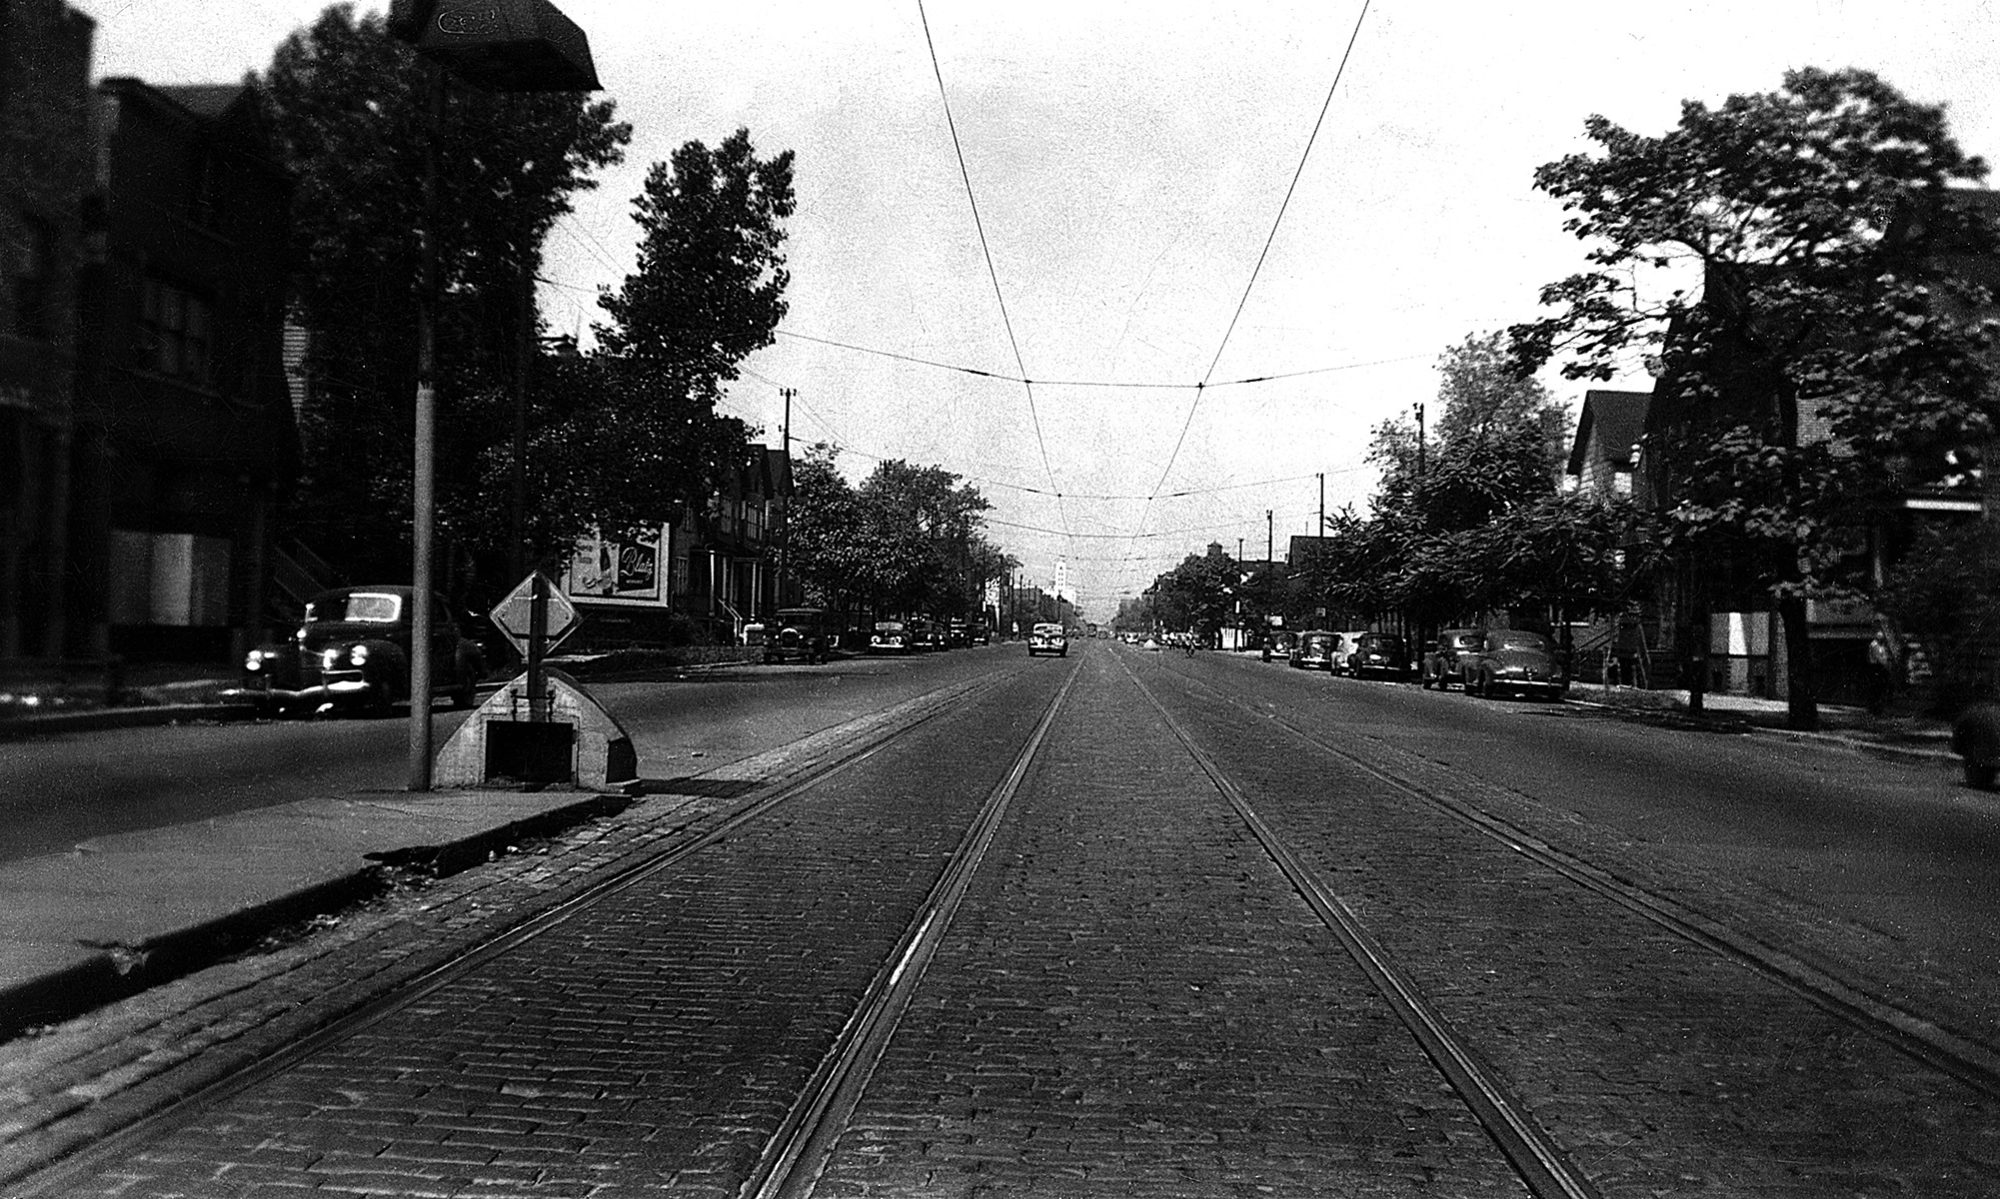
In May 2020 I have a solo street photography show and I will have over twenty prints in the exhibit. A friend made the recommendation to supplement the print exhibit using digital images. At first I balked since the idea of a monitor or projector connected to a computer or laptop in the gallery seemed cumbersome. Since it was an idea that had merit, my mind churned on it in the background until I came up with a solution that I plan to use.
My solution combines a 23″ monitor on an easel with a Raspberry Pi microcontroller to run a video. The monitor size is important since people will be viewing the images at close range. I think that 23″ is nearly the maximum size for that reason. Mounting the monitor on an artist easel makes it feel less like an electronic gimmick and more like art.
As with many projects of this type, following the steps below may not work for you for some reason. I did some hacking and debug to get it to work and you may find it necessary to do so as well. My objective is to describe the steps that I took and to provide a starting point. For help in getting through problems should you decide to try my approach, I refer you to the many Raspberry Pi resources on the Internet.
For the remainder of this discussion you will need to be reasonably well-versed in the use and configuration of computers. The steps discussed assume that you have a recent model Raspberry Pi. I am using a Raspberry Pi 3 Model B+ that I have in a plastic case as well as Bluetooth keyboard and mouse. After following the steps below, the keyboard and mouse will not be necessary when the setup is in the gallery because powering up the Pi and the monitor will start the video at boot. The discussion also assumes that you can navigate the Pi Raspbian Graphical User Interface and the nano editor.
For help getting the Raspberry Pi to display a video I turned to Adafruit and their video looper project. I followed the steps exactly and was able to run a trial video on the first try. Some changes must be made to adapt the video looper to begin playing at boot. To automatically begin play at boot, the video must be copied to a directory on the flash boot drive and the video_looper.ini file must be edited.
To copy the video I used the Raspbian GUI file manager to copy from a thumb drive to the /home/pi/video folder. Plug the thumb drive into the Pi and open the GUI file manager. Navigate to the /media/pi folder to find the thumb drive. If you attempt to copy to the video folder you may get a “permission denied” message or something like that. To get permission, go to the file manager Tools menu and select “Run a Command in Current Folder”. In the command window, enter “gksudo pcmanfm” followed by the “Enter” key. This will open a new window where you will have the necessary permissions. In the new window you will be able to drag and drop the video file from the thumb drive to the video folder.
The next thing to do is edit the video_looper.ini file. The best way to do that is to enter sudo nano /boot/video_looper.ini in the command line window. The command opens the configuration file in the nano editor. Find the lines with the file_reader option. Change file_reader = usb_drive to a comment line by adding “#” to the beginning of the line. Delete the “#” from the file_reader = directory line. This sets the video looper to play the video from the /video directory instead of the thumb drive.
The remainder of the setup is mechanical and depends somewhat on personal preferences. I plan to hide the Raspberry Pi and the monitor power brick behind a placard hanging at the bottom of the monitor. The idea is to keep all of the electronics invisible except for the monitor itself. The power cords will be strapped to an easel leg and led down to a power strip on the floor.
The other bit of mechanics is developing the video itself. I use Photoshop CC to develop the main title, image titles, and the credits frames and I use Cyberlink PowerDirector to do the editing and rendering of the video. The image frames are exported from Lightroom Classic CC and imported in to PowerDirector. My video is a kind of slide show where each image title and image get about fifteen seconds of viewing time. I have ten images and the total length of the video is two minutes and forty five seconds, including a title at the beginning and a credit frame at the end. Each image title is numbered “N of 10” so that visitors know what to expect in terms of video duration. My recommendation is to keep the video short to hold the attention of the gallery visitors through the entire video.
This is something new for a gallery photography show and it will be exciting to see what kind of reception it gets from critics and gallery visitors. This approach is a method to get gallery visitors engaged in a different and unexpected way. At this point in time gallery exhibitions need all of the help they can get.
